28 October 2011

Mexican Wedding Cookies!

With Halloween just around the corner, the majority of food bloggers are sharing their favorite Halloween treats, but here I am making these cookies that are typically eaten around Christmastime. Oops. But hey, it's my blog and I can bake what I want to, right?! I obtained the recipe for these fabulous little cookies several months ago when I went on a spree of going to bookstores and picking out recipes from various cookbooks. This actually turned out to be a pretty good method for finding new and interesting recipes, although this is only the second time I've used one of them (I assure you I have quite a few saved for later use). I have made these cookies before but it was a looooong time ago, back in the days of endless Toll House chocolate chip cookie baking that I mentioned in my last post. So, when I just happened to come across the recipe in one of the many cookbooks I thumbed through, I thought that it was a perfect opportunity to make them once again.

The best thing about these cookies is that they are ridiculously easy to make. They have only five ingredients and the longest part of the whole process is the baking itself, since they cook about twice as long as most cookies. Another great thing about these cookies is that they can be made with ingredients that I usually have already at home so I don't have to make a special trip to prepare for them.

The other day when I was slightly pressed for time but wanted to make something, I went for these. The recipe made about 20 cookies (even though it claims to actually make 48, I am notorious for making my cookies larger than your standard homemade cookie), which were gone the following evening. I had to make a second batch already because Tom and I have been eating these things nonstop. Luckily they're smaller than the cookies I usually make so we can feel less guilty about eating so many. Also, they're great with a cup of coffee in the morning. In fact, I totally skipped breakfast this morning and replaced it with a couple of these (super healthy, I know).

Anyway, here you have the Mexican wedding cookies! So delicious and so easy, I don't see why we only eat these at Christmastime. Also, since I was pressed for time and my camera had died, I took all of these photos on my phone. However, I don't think they turned out half bad and I might just use my phone from now on since it's way easier.


The second most time consuming part of the process is chopping up the pecans

Almost ready for the oven...

Mexican Wedding Cookies:

For the dough:

  • 1 cup finely chopped pecans
  • 1/4 cup powdered sugar
  • 1 cup butter
  • 1 teaspoon vanilla
  • 2 cups flour
For the coating:
  •  1 to 1 1/4 cups powdered sugar
Directions:

Combine pecans and 1/4 cup powdered sugar and mix until both are evenly distributed. Cube butter and soften then add to nut and sugar mix along with the vanilla. Lastly, add the flour and mix until dough holds together well. Roll into small 1-2'' balls on baking sheet and bake for 20-22 minutes at 325. While cookies are baking, pour remaining 1+ cup of powdered sugar into a bowl (I just eyeballed it). Once cookies are out of the oven and cool enough to pick up but still hot, roll in powdered sugar and place on cooling rack. Once completely cooled, roll through powdered sugar a second time (I have trouble being patient enough for this last step). Enjoy!

Mmm, after their first coating of powdered sugar

22 October 2011

Chocolate Chip Cookies = Fail

I am beginning to hate chocolate chip cookies! The first thing I ever baked was a batch of chocolate chip cookies since they are my dad's favorite, easy, and taste better than any other cookie when fresh out of the oven. As a kid, I usually alternated between baking chocolate chip cookies and boxed mix brownies; most nine to twelve year old kids aren't interested in getting too elaborate with their baking, and I was no exception to the rule. You'd think that with all that experience I would have honed in on the perfect recipe. While the classic Toll House chocolate chip cookie recipe is really not that bad, I have recently been trying to branch out and see if the world has anything better to offer. Over the past month, I tried two new chocolate chip recipes only to be disappointed, once again.


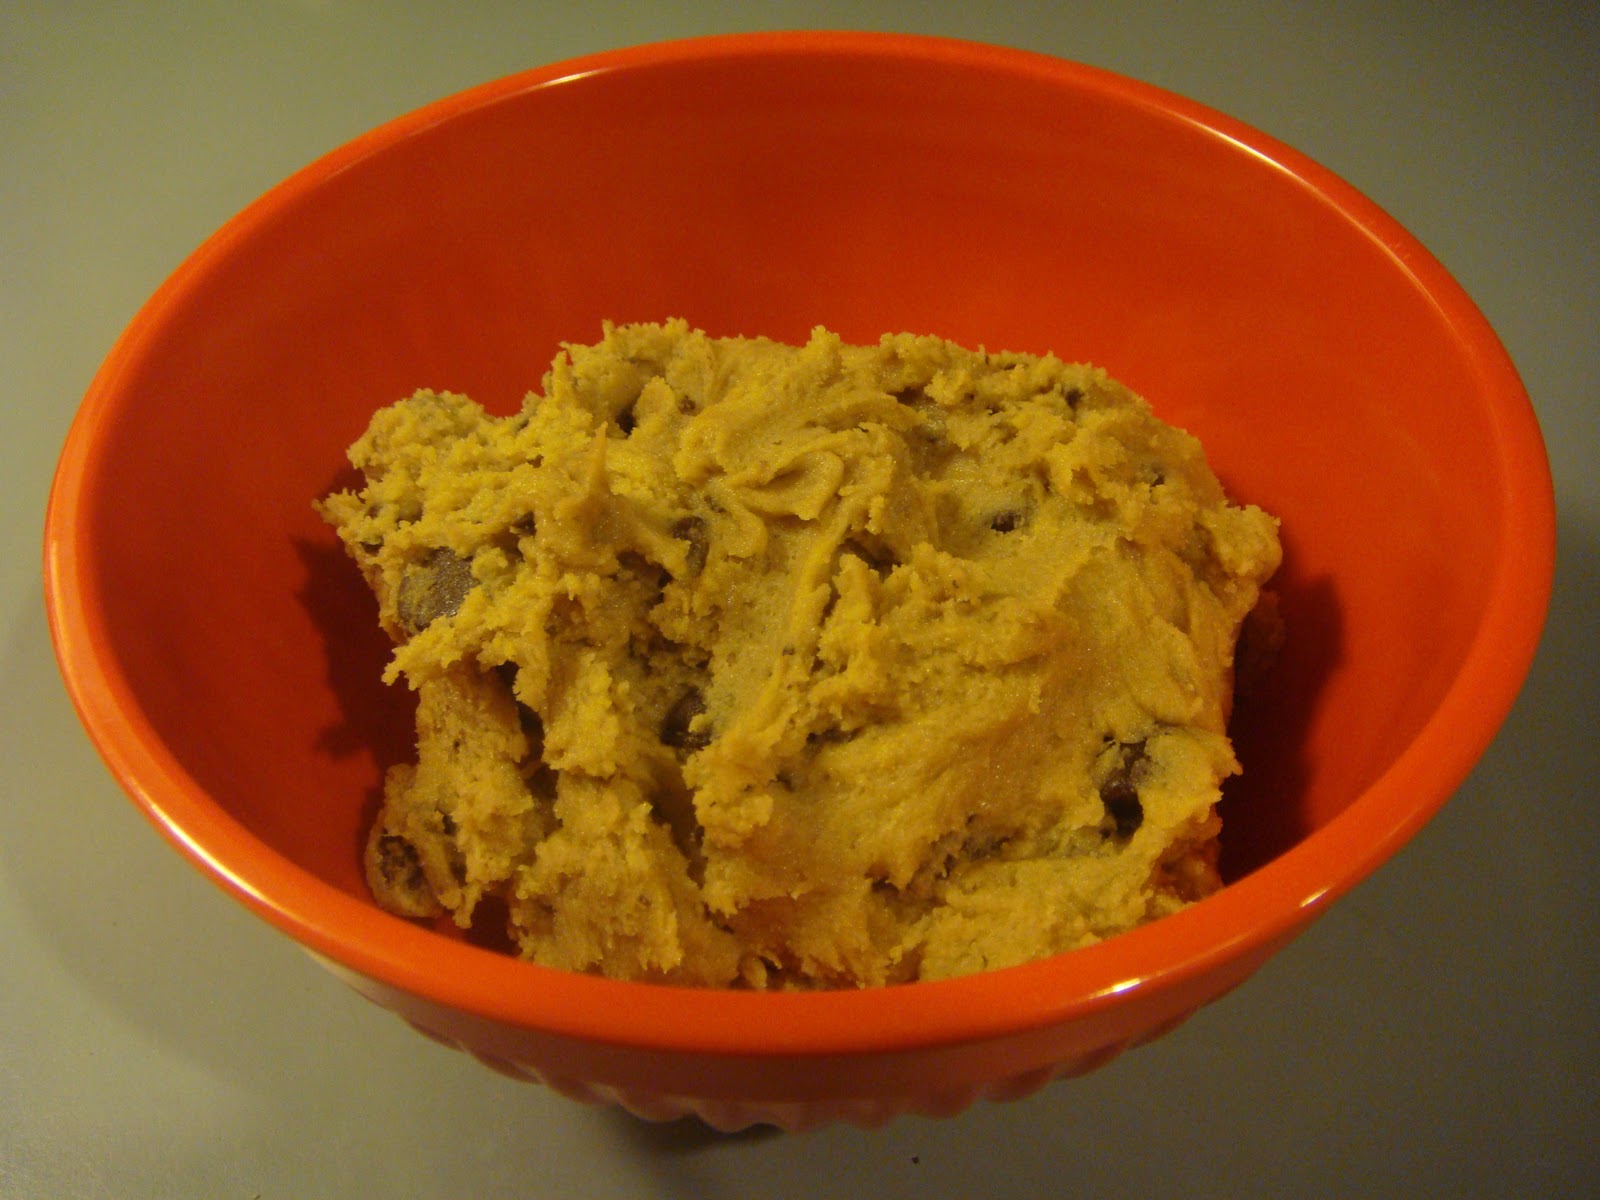
I probably shouldn't admit this, but this leftover dough from a few weeks ago is still sitting in my fridge... talk about a letdown.
The disappointment caused by the first attempt was primarily my own fault for being so unobservant. I found the presumably "new" recipe on the back of an organic chocolate chip bag (which I usually do not use). The recipe seemed similar to the Toll House one, but I went with it anyway, only to discover (after I had baked the cookies, of course) that the recipe was actually exactly the same except for the addition of the word "organic." Considering the fact that I already use mostly organic ingredients and didn't really have to go out of my way to make organic cookies, I was pretty disappointed when I realized my error. Here I was thinking I was embarking on some new chocolate chip cookie adventure only to discover my old go-to in disguise. These cookies turned out acceptable, as usual, but still not amazing.

I stake no claim in professional photography, but at least I have cool looking plates, right?!

After my stupid mistake, I decided that it was time to turn to the almighty internet for some assistance. I had come across a new chocolate chip recipe while searching for a pumpkin cookie recipe, which I bookmarked for the inevitable moment when I would need to continue my search for the perfect chocolate chip cookie. With a name like "Ultimate Chocolate Chip Cookies" I was prepared for excellence. Unfortunately, these turned out to be what are in my opinion some of the worst chocolate chip cookies ever created (luckily Tom claims to like them and keeps eating them so they wont go to waste). I have chosen not to share any of the horrific photographic images because it could severely impact my integrity as a baker (if my addition of Photo Booth pictures in my last post hadn't already done so). If you really want to, you can use your imagination and picture a cookie that is crunchy and gross on the edges and super soft in the middle with a funny aftertaste. Not appetizing or visually appealing.

Lesson learned! I'm going to stick with the old Toll House recipe but focus on tweaking it ever so slightly to meet my needs (and don't worry, I'll update you all once I've nailed it). After all, I've been baking and enjoying these cookies for over a decade so they can't be that bad. All of my toil over chocolate chip cookies hasn't been without benefits though; here are a few things I've learned from experimenting with so many chocolate chip recipes:
  • always use more vanilla than called for
  • adding a little bit of milk is a good idea
  • shortening (even if it's of the non-hydrogenated organic variety) is not okay
  • a convection oven is ideal (even though some of us rent, which means no access to any appliance made before 1930... but I can dream!)

13 October 2011

Pumpkin Goodness

It has been a rough week for me. I've been suffering relentlessly from crazy back pain and have been feeling generally crummy as well as stressed out. I wanted to break my pitiful sore back routine of sitting in the only chair that makes my back feel semi normal while endlessly watching wedding shows by baking something. I wasn't sure how it would play out because standing for long periods of time is proving to be painful. Why I have the back of an octogenarian at the ripe young age of 22, I cannot seem to understand. I'm starting to feel like one of the people on the show Mystery Diagnosis since a trip to the doctor has proved worthless, unless you call muscle relaxers a permanent solution (which I don't). The search for a decent chiropractor is now on... Let's just hope that I am partially improved by Saturday, because I'm supposed to run a half marathon.

Anyway, since I am a cripple my boyfriend (who I will refer to by his name, Tom, from now on because "my boyfriend" is starting to sound awkward and disrespectful) had to do the usual shopping trip without me and I asked him to pick up some cream cheese with every intention of making red velvet cake cookies with some kind of cream cheese swirl/frosting/filling. Being generally more creative than I, Tom picked up some pumpkin as well. When he arrived at home and I discovered the pumpkin, I decided that making pumpkin cookies sounded like a much better idea. So that is exactly what I did. I am going to be completely honest here, generally I think that my cookies are fairly tasty, but these are fucking delicious (yes, the expletive is necessary... because they are that good).

A general Google search seemed to be all I needed. After all, it is the pumpkin-y time of the year! I found a couple of different recipes, including one from the Food Network which had been uploaded less than 24 hours prior to my search. Since that particular recipe already had a good amount of positive reviews, I went with it. Boy am I happy with my decision! These cookies have the perfect inner fluffy/outer slightly crunchy consistency that I had hoped for.

I am admittedly one of the worst food photographers ever... but you get the idea!

Pumpkin Chocolate Chip Cookies:

  • 2 sticks butter
  • 1 cup sugar
  • 1 cup brown sugar
  • 2 eggs
  • 1 teaspoon vanilla
  • 1 cup pumpkin
  • 3 cups flour
  • 2 teaspoons baking soda
  • pinch salt
  • 1+ teaspoon cinnamon
  • 1/4 teaspoon ginger
  • 1/4 teaspoon nutmeg
  • 2 cups chocolate chips (I used semi-sweet)
Combine sugars and butter and beat until creamy, then add the remaining ingredients in order.  After I added all of the ingredients, I mixed the dough for a long time, probably 5+ minutes. These cookies bake at 350 degrees for 15-20 minutes. (Can you tell that I think directions for baking cookies are pointless? I mean really, who can't figure out how to combine the ingredients? It's pretty idiot-proof.)

Because these cookies bake a little longer than your standard chocolate chip, I decided to kill some time by taking photos with our dog on photo booth that you might find amusing:

Can you tell that Tikishla was really enjoying it? I mean, I practically had to strangle her. What fun!

You can see the pure joy in her eyes!

Aahhh! It's a dog! With elbows!


 In retrospect, if you have now lost any desire to continue reading my blog, I understand. So, here's another picture of cookies to help my cause:

Seriously, these things are delicious. I wish there were more people in my household to prevent me from eating all of them... or maybe not.

05 October 2011

It's a Miracle!

I actually baked something! Thanks to Zach and Nina for your suggestions, I really appreciate it. Since Zach came up with a suggestion so quickly I went with his ideas and actually ended up (coincidentally) satisfying both of your requests. Zach suggested that I make some peanut butter brownies, but instead of making brownies I decided to make brownie cookies! The idea has crossed my mind before, but I never followed through until now. I decided to go with a little improvisation from a few recipes I found online and came up with the following:

Peanut Butter Brownie Cookies:

For the chocolate brownie batter:
  • 12 ounces  bittersweet chocolate
  • 1 stick butter (melted together with the bittersweet chocolate, either double broiler style or carefully in the microwave)
  • 3 eggs
  • 1 tablespoon vanilla
  • 1 cup sugar
  • 1/2 cup flour
  • 1 tablespoon baking powder
  • pinch salt
  • 1 cup chocolate chips
For the peanut butter filling/topping:
  • 3/4 cup peanut butter
  • 1/4 cup powdered sugar
For the peanut butter, I basically did the same thing that I did for peanut butter cups except that I didn't really measure anything so these measurements are estimates. I tried a few different methods for combining the peanut butter mixture with the brownie batter. I tried spooning a little on top of a few cookies as well as putting some in the middle of the cookies (kind of like a cookie version of a peanut butter cup) and left two cookies without peanut butter (just to get the full effect of plain brownie cookies in case the peanut butter concoction baked funny).

Peanut butter dollops on top

The alternative - peanut butter innards

I had some batter and lots of peanut butter leftover, so a few days later I mixed the two together and baked the rest, which turned out a little dry but pretty good. Ultimately, I think that I prefer the cookies with the peanut butter on top.  My boyfriend prefers the cookies with the peanut butter inside, so I suppose it's up to the eater to decide. Not sure which method I would go with if I make these again.

This isn't a very good photo, but it is the only evidence I have of the peanut butter/brownie mix

What's next?
I might experiment with some whoopie pies (even though the name and concept has always freaked me out a little bit... I'm willing to bite the bullet so that I can become a real baker one day!) or chocolate/vanilla sandwich cookies (you might know them as Oreo cookies, but I'm trying not to sell out to a brand name here... especially because Oreos have hydrogenated oils in them, boo Nabisco!). Got an idea? Share it.

27 September 2011

I Suck at Blogging...

... this is the sad realization I came to today. However, it all ends now. While I am lacking photographic evidence of anything I have baked recently, I promise that I have been baking, at least a little. And by a little I mean about once a month. I am setting a goal of one post per week for the rest of the year and to get the ball rolling I am reaching out to the four people who actually read my blog for help. Since I am not feeling particularly creative, I thought it would be fun to ask you awesome people what I should bake next. Cookies are preferable, but I am open to various suggestions (with only a few readers I can't be too picky). In case you're wondering what the heck I've been doing for the past few months that didn't involve blogging, I'll fill you in: I spent the entire summer taking classes and then spent a couple of weeks on vacation. Since I've been back in Anchorage, my boyfriend and I have developed an addiction to frozen yogurt and have been going to this place almost every day. If you're in Anchorage, or any other place with a self-serve frozen yogurt business, I highly recommend it! In a nutshell, frozen yogurt has satisfied my sweet tooth for some time now and I haven't been compelled to bake as much. I have also come to the realization that I do significantly less baking during the summer because it is warm outside and I'm constantly doing something. In the wintertime I am constantly trying to avoid going outside because it is miserable and cold and dark (the fact that I don't enjoy skiing as much as running may also have something to do with it).  However, temperatures have begun to drop below freezing at night which inevitably means more baking! So, there you have it. Suggest away!

Oh and P.S. - Thanks to Amanda for letting me know that you missed my posts. It's good to know that somebody out there enjoys and misses Beluga Bakery!

P.P.S. - this post looked naked without a photo, so here is a lovely picture of a beluga whale for you to enjoy:  

28 April 2011

Cooking Baking Extravaganza

Allow me to apologize for the length of time between this post and the last, but this week marks the last week of the semester, and we all know how that goes. In addition to wrapping up this semester, I'm training for numerous races, including a triathlon which is coming up in just a couple weeks and two races back-to-back this coming weekend. To further add to the list, I'm still working part time. Needless to say, things are hectic!

To combat the insanity of these past couple weeks, I decided to add even more activities to my schedule by baking not one, but three batches of cookies a couple of days ago. I know that more cookies have been baked by a single person in one day, but I felt pretty accomplished cranking out three batches in an eight hour span considering my to do list at the time (I spent the day alternating between making batches of cookies and completing homework assignments). I even tried a new recipe! Now, on to what you're waiting for: cookies!

The trio of doughs ready to be baked!

The first batch I made was found on the wonderful blog, How Sweet Treats. I am seriously impressed with what this woman creates (thanks to my cousin Lily for introducing me to this gem). Naturally, I had to try out one of her recipes. Since we just happen to have a large, seldom used bottle of Bailey's in the house, I decided to try her double fudge Irish cream cookies. I know Saint Patrick's Day is over, but who cares? Bailey's is undeniably delicious and it could only taste better in a cookie!

Getting the party started


Bailey's dough ready to go


Fresh out of the oven, yummmm!

For these cookies I used the recipe from the How Sweet Treats blog, which you can find here. I made a couple of my own modifications though:
1. I didn't add white chocolate chips because I have yet to find any that are free of hydrogenated oils, and half of my goal here is to produce treats without too many horribly unhealthy ingredients. I just substituted for the white chips with semi-sweet milk chocolate chips.
2. We do not have any instant coffee in the house and there is nothing I despise more than having to run to the store (I basically live on top of a mountain where what others know as a quick run to the store takes a minimum of 40 minutes because of driving time) for just one semi-crucial ingredient. So I just omitted the instant coffee. This probably would've given these cookies the extra kick that they needed...
3. We have chocolate-covered coffee beans, which I meant to stick on top of these, but I completely spaced. Just an idea for the future if any of you have chocolate-covered coffee beans and want to try it. I will remember to do this next time!


Overall, I'd say these cookies turned out well given the modifications that I made. At first I thought these cookies were kind of bland, then I loved them, and then I thought they were bland again. I couldn't make up my mind with these! You'll just have to try them for yourself.


The next cookie added to the trio was the obligatory monster cookie. I halved the recipe, which always leaves me a little dissatisfied because it is difficult to halve (the proportions are always a little off). These cookies are also temperature sensitive: if the dough is too warm before they go in the oven they spread like crazy, but if the dough is chilled for too long they don't spread enough and come out looking like muffins. The dough wasn't cold enough prior to baking so these spread a little more than I would have liked. Luckily spreading is mostly just an aesthetic issue; they still tasted amazing.


Stack of flattened monster cookies

Lastly, I decided on oatmeal raisin cookies. I could probably count all of the times that I've made oatmeal raisin cookies on one hand. I have no idea why I hardly ever make these cookies, because they aren't any less delicious than any other cookie out there. I guess that depends on who you ask, but personally, I have nothing against oatmeal raisin cookies. So I decided to make these cookies the last members of the cookie trio. They turned out quite well.

Oatmeal raisin cookies cooling off

Here's the recipe I used for these oatmeal raisin cookies:

  • 1/2 cup plus 4 tablespoons butter
  • 3/4 cup packed brown sugar
  • 1/2 cup granulated sugar
  • 2 eggs
  • 1 teaspoon vanilla
  • 1 1/2 cups flour
  • 1 baking soda
  • 1 1/4 teaspoon ground cinnamon
  • 1/4 teaspoon salt
  • 3 cups oats (I use Quaker old-fashioned, none of that instant stuff)
  • 1 cup raisins (I would recommend adding a little more, I felt like these could have used a few more raisins) 
Bake 8 to 12 minutes at 350, until golden brown.


Cookie trio at the end of the day

06 April 2011

Apple Raisin Scones

Scones are kind of like cookies, right? They can be round... soft... and... delicious? Either way, last week I had some kind of mini-epiphany. We sell scones where I work and I've indulged occasionally by having one, never once thinking (until now) that I could just make them myself. Why this hadn't occurred to me earlier is a really good question, but I made up for lost time by making this recipe twice in one week. Unfortunately, the second time around I was lazy and decided to skip the whole kneading the dough part. Turns out you can't really do that. Well, you can, it just doesn't produce as satisfying of a result. So heed my advice (which is probably common sense to most everyone else): KNEAD THE DOUGH!


After a bit of Google searching and perusing recipes, I came up with something. This turned out to be a little bit of a challenge since most of the recipes I came across called for sour cream. I don't have anything against sour cream, in fact I love it, we just didn't have any at the time. Sour cream is one of those things that we only have around if we've recently made some kind of Mexican dish, which isn't often, and then I would be the only one to use it since my boyfriend hates sour cream (amongst many other things that I enjoy, like pickles). Regardless, I wasn't going to drive all the way to the store for one missing ingredient that wouldn't receive much more use, so I came up with an alternative that worked. As far as deciding what to put in these bad boys, I had a giant container of rarely consumed raisins as well as some amazing McIntosh apples that I had just picked up from the store (which came as a very pleasant surprise since McIntosh apples are my favorite apples of all time and I didn't think they were in season yet) handy, and a combination of the two didn't sound bad so I went for it. The result was quite satisfying:


Beluga's Apple Raisin Scones:

For the scones:
  • 2 cups flour (plus some extra for your kneading surface)
  • 4 teaspoons baking powder
  • 3/4 teaspoons salt
  • 1/3 cup sugar
  • 1/4 cup (or 1/2 stick) of butter, cubed
  • 2 tablespoons shortening (I've found an awesome organic all vegetable non-hydrogenated kind, made by Spectrum at my local supermarket)
  • 3/4 cup milk
  • 1 egg
  • 1/2 cup raisins
  • 1/2 of a medium sized apple, chopped (I used McIntosh because they are nice and soft and also delicious, but I'm sure any apple of your choice would do. I also left the skin on, skin is good.)
For the glaze:
  • 1/4 cup sugar
  • 2 to 3 tablespoons butter    
Directions:
Combine flour, baking powder, salt and sugar. Add in cubed butter and shortening, mix well. Add milk and egg and mix until there are no visible chunks of butter left. Add in the raisins and apple pieces and mix until they are evenly distributed. Next (and as stated above, I don't recommend getting too excited and/or lazy and skipping this step), knead the dough onto a lightly floured surface for a couple of minutes, or until it is manageable. Take biscuit-sized pieces and place them onto your baking sheet. Bake for 15-20 minutes at 375.
While the scones are baking, melt the butter for your glaze and mix it in with the sugar. When the scones are nearly done (about 2-3 minutes of baking time left), remove them from the oven and coat each one with a portion of the glaze and then return them for the remaining baking time. Enjoy!

30 March 2011

Monster Cookies

Many of you will be disappointed by this post because I am going to omit the recipe. The reason for this is that I believe the monster cookie may be my secret weapon, or perhaps even my trademark cookie, someday in the future at Beluga Bakery...

For my paternal family members, this is a familiar treat. I remember visiting my grandparents in Montana when I was little, hoping that someone would make these cookies because they were so, so amazing. My father has nine siblings, so when the family gets together we spend a lot of time in the kitchen preparing large meals. The same goes for baking; every time the family got together it was guaranteed that someone would spend a good chunk of time baking up enough cookies to serve the Tranel clan. These cookies were always a go-to not only because they were delicious, but also because they yielded four dozen (!) aka enough to serve a giant family like ours. I have many memories of sitting in the back of the family van while taking a break from ice skating on some remote frozen lake, monster cookie in hand. These cookies defined my childhood experiences in Montana.
As I became more interested in baking I finally asked my grandmother for the recipe. From that moment on I've made these irresistible "garbage can" cookies. When I say "garbage can" I don't mean it in a disgusting sense, but it in the same sense that you'd refer to something like hornblende. For those of you who haven't been spending four hours every Friday in a geology lab, it's a lot of things mixed in together (peanut butter, m&ms, chocolate chips, oatmeal, and more). I'm not entirely sure of the origin of this recipe. All I know is that I copied it down when I was about 14 years old from a recipe card my grandmother had, which looked well-loved and fairly dated. To this day, this is the one of the few recipes I use that has not been modified or copied from a cookbook or the internet. These are undoubtedly my favorite cookies of all time.


I halve the recipe when I make it at home, since there are only two mouths to feed (dog not included) and the full deal is so hefty that it sends my trusty stand mixer into overdrive.


I love being able to reminisce with a plate of cookies...

24 March 2011

Peanut Butter Cups

I promise that Beluga Bakery will eventually hop on the cookie train, but I couldn't resist sharing these delicious treats. Whenever I have that oh-so-familiar chocolate/peanutty craving, I make these. So simple and so scrumptious. I followed this recipe the first time, but decided to make some slight personal changes to my subsequent efforts, which I think created a much more satisfying result. The best part about these is that they require no time in the oven, just some time in the fridge or freezer.  I was addicted to Reese's throughout my first semester of college and if I'd known how easy it was to make my own peanut butter cups then, I probably would've made these weekly. Back then I could afford to stuff my face since I was rowing crew, now it's probably better that I have to go through the slight effort of making these goodies instead of simply buying a bag of Reese's at the store. I'm still active, I'm just not up at 5 AM every morning burning obscene amounts of calories. Now I try to justify indulgence by making it myself because mentally it seems better; ultimately it's all the same.


 I truly believe that silicone cupcake liners are one of the best inventions ever.


 I am a huge fan of all things crunchy, so crunchy peanut butter is a must!


It's a good idea to let these sit out for a little bit before enjoying so that they aren't as difficult to sink your teeth into.


Beluga's take on the peanut butter cups (makes a dozen):
For the chocolate:
  • 16 ounces of semisweet baker's chocolate (although chocolate chips would do the trick as well)
  • 1 heaping spoonful of peanut butter (do yourself a favor and buy the all natural/organic kind, it's a little more expensive but has no nasty stuff like hydrogenated oils, so it's better for you!)
  • dash of salt
For the peanut butter filling:
  • 3/4 cup of peanut butter (I used crunchy!)
  • 1/3 cup powered sugar
  • dash salt
Directions:
 Melt the chocolate in one minute increments in the microwave, stirring the chocolate after each interval. After all of the chocolate has melted, mix in the spoonful of peanut butter and pinch of salt. Set aside. Combine the remaining ingredients in a separate bowl, stirring until the mixture is nice and creamy (if you store your peanut butter in the fridge it helps to stick it in the microwave for a few seconds to soften for easier mixing). Use about half of the chocolate to fill the bottom of the cupcake liners. Next, add the peanut butter; if you're concerned with aesthetics avoid letting it reach the edges of your liners. Use the remaining chocolate to cover the peanut butter, then place the finished peanut butter cups in the fridge or freezer to harden. (I'm impatient so I put mine in the freezer, where it only takes about 20 minutes for them to harden.) After they've hardened, remove the cups from the cupcake liners and enjoy! Tip: keep them stored in the fridge to avoid any loss of form.

21 March 2011

Challenging Superlative Recipes

Many bakers claim to have superlative recipes. I found two recipes claiming excellence and set forth to see if their claims were true...

The first recipe was found here, which claimed to be the best ever chocolate chip cookie recipe. I've stuck with a couple of staple chocolate chip recipes over the years, but have recently decided to experiment a bit more in search of that perfect recipe. I've been pretty content with the recipes I use, but there's no harm in trying to find something better! After all, these cookies were going to be the best ever. I was excited to get baking, believing that my search for the perfect chocolate chip cookie was about to end. Well, I was let down. This particular recipe left something to be desired and had me longing for my staple recipes. I gave them a second chance after the first attempt yielded disappointment because I was feeling so optimistic. However, the second attempt changed nothing. Perhaps the third time's a charm, but I've been so let down by this recipe I'm not sure if I want to give it a third shot.


I was still feeling optimistic at this point.


The result: a cookie that is a flatter than I'd like, decent when fresh out of the oven (a little crunch on the edge and a soft center), but after about two hours these cookies lose their flavor and texture. Overall, I'd rate this a superlative fail.


The second recipe I tried was not a cookie recipe, but satisfied an ongoing craving I'd been having. I been having random urges to make blueberry muffins, but never had blueberries at hand. I settled for making chocolate chocolate chip muffins for a couple weeks until a trip to Costco led to the discovery and purchase of an inordinate amount of blueberries (enough for two batches of muffins and even pancakes, too!).  I found this recipe via a simple Google search, another claiming to yield a most tasty result: to die for blueberry muffins. I came close to omitting the crumble topping, but it proved to be the element that set these muffins apart from the rest.


Considering the amount of blueberries I had available, I added extra.


 Crumble-topped and ready to go!


Blueberries oozing out of freshly baked muffins.


These to die for muffins did not disappoint, I highly recommend!