Showing posts with label chocolate. Show all posts

15 November 2011

A Smorgasbord of Treats

For those of you alarmed by the different nature of my last post, this post should make up for it.

Last night I made brownies, but I didn't stop there. While the brownies were in the oven, I made mints too! Then I went to bed and woke up this morning and made peanut butter cookies! Lots of baking going on when I really should be doing anything but. I have a lot going on since it is my last semester of college, which I have mentioned, but it is getting a little hectic to say the least with under a month to go.

Lets start with brownies. I wanted to experiment with some kind of add-in that I hadn't tried before. I had some cream cheese in the fridge and some blackberries so I made a blackberry cream cheese to swirl in. Since I wasn't sure how berry cream cheese would compliment the brownies, I only added it to half of the brownies. Both sides turned out wonderfully. I have been craving brownies for a long time and these hit the spot. The berry cream cheese totally worked with the brownies, and the blackberry taste wasn't too strong (which I was worried about). My favorite part of the berry cream cheese brownies was how the seeds from the berries mixed in so every couple of bites I'd get a seed. Those of you who aren't a fan of crunchy seeds probably wouldn't enjoy these brownies as much.

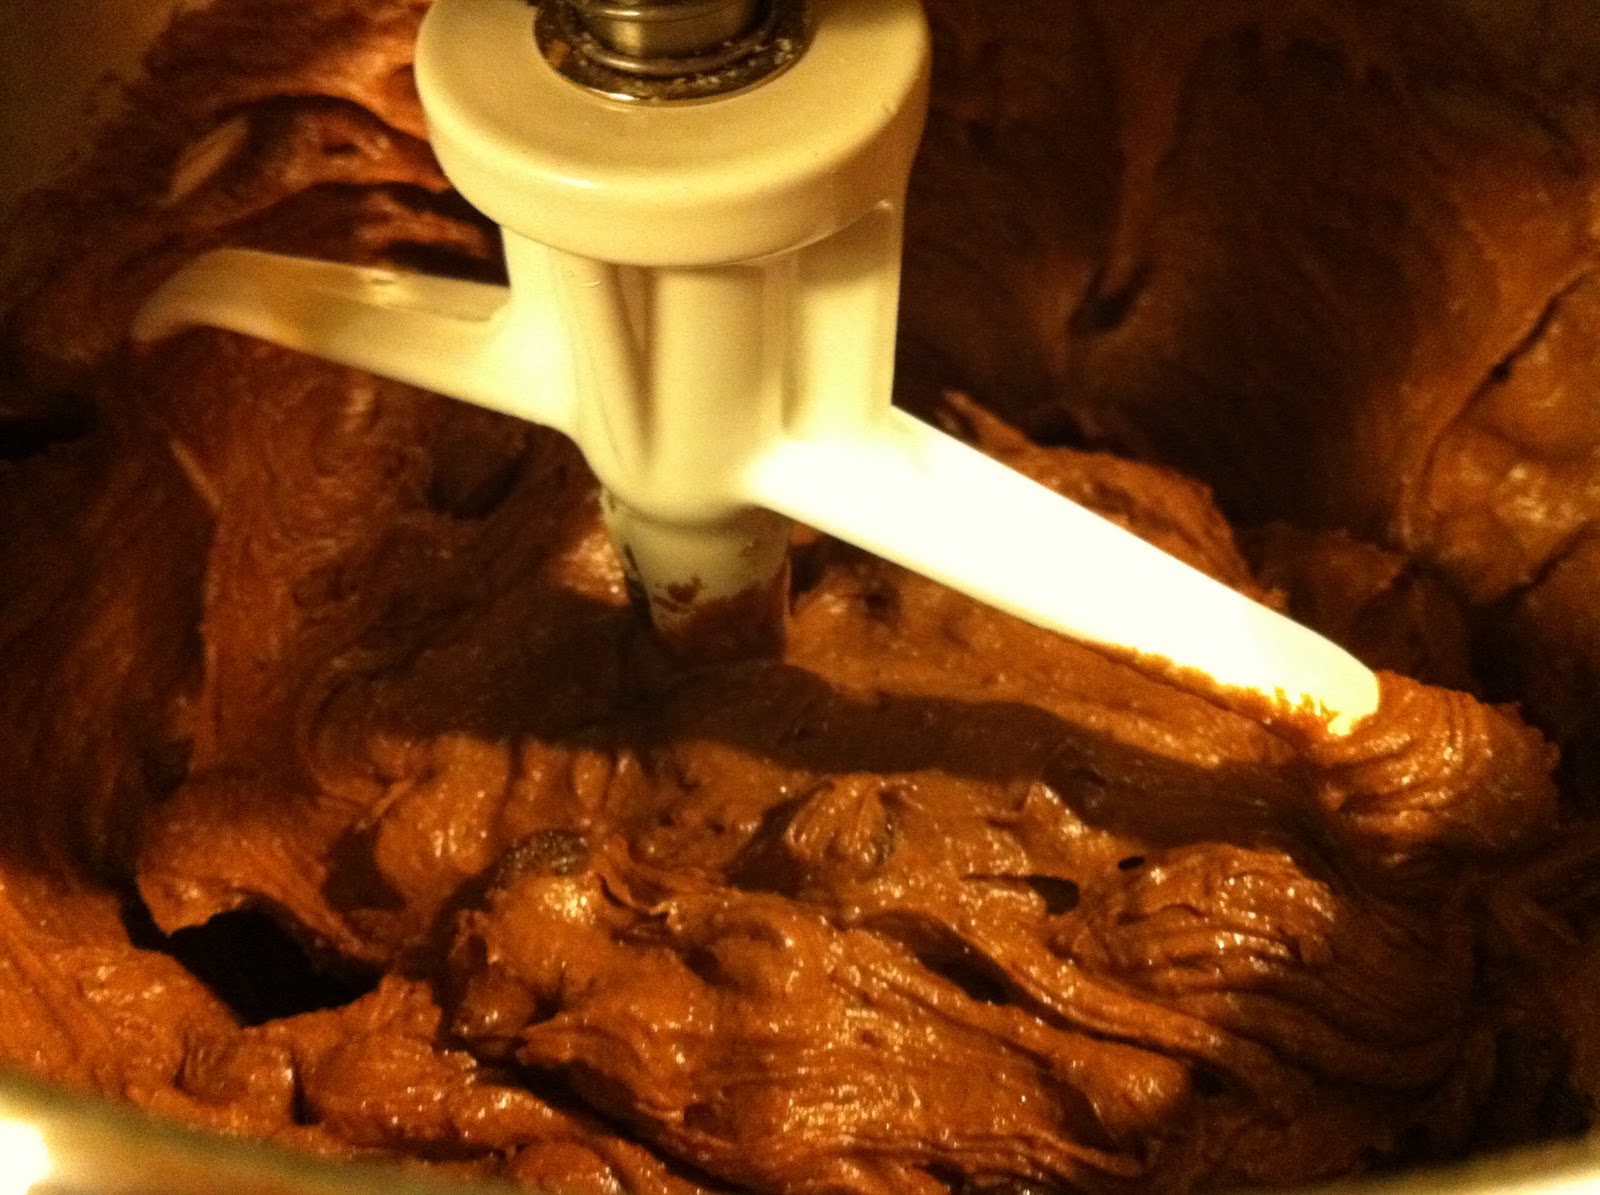
Mixing up the brownie batter.

My very elementary attempt at blackberry cream cheese, with a touch of honey

Since brownies take forever to bake, I decided to occupy my time with another recipe. I actually found the brownie recipe in the little recipe book that came with my stand mixer (which I've used many other times). This same recipe book has a recipe for no-bake mints that I have always been curious about. The mints were very simple to make, just a few ingredients; all I had to do was mix it together, shape the mints, and then store them in the fridge! I was done in 20 minutes. The mints are pretty good, but I think that tonight I may try dipping some in chocolate for a peppermint patty effect.


Mints!

Half and half brownies... just ignore the fact that I poked them a billion times...

Today also happens to be the birthday of one of my awesome friends, Holley, so I wanted to make some cookies for her. Since Holley is the birthday girl, I asked what she had in mind and she requested peanut butter cookies. I've been wanting to make peanut butter cookies forever and had them in mind as well; apparently these cookies were meant to be! In case the coincidence wasn't enough, I recently purchased a giant tub (see photo below) of peanut butter from Costco, so I definitely had the means (and then some) to make peanut butter cookies.

In case you didn't believe me; this thing is enormous! Also, that is a full-sized mixing spoon.. mixing this jar of peanut butter up for the first time was extremely difficult as evidenced in the mess that I was making when I took this photo.

The peanut butter cookies turned out a little crunchier than I would have liked, but they still have an addictive property about them... I ate three right away. I also dipped some of the cookies in chocolate to mix it up, but I was operating under a time crunch so I wasn't able to share any because the chocolate hadn't hardened enough by the time I needed to leave. The chocolate had set by the time I got home and is a nice compliment, but I think next time I'll mix peanut butter in with the chocolate to give it more flavor.

Peanut butter cookies ready for the oven.

Chocolate-dipped! Holley, if you read this... I'm sorry these weren't ready in time to bring to class!

28 April 2011

Cooking Baking Extravaganza

Allow me to apologize for the length of time between this post and the last, but this week marks the last week of the semester, and we all know how that goes. In addition to wrapping up this semester, I'm training for numerous races, including a triathlon which is coming up in just a couple weeks and two races back-to-back this coming weekend. To further add to the list, I'm still working part time. Needless to say, things are hectic!

To combat the insanity of these past couple weeks, I decided to add even more activities to my schedule by baking not one, but three batches of cookies a couple of days ago. I know that more cookies have been baked by a single person in one day, but I felt pretty accomplished cranking out three batches in an eight hour span considering my to do list at the time (I spent the day alternating between making batches of cookies and completing homework assignments). I even tried a new recipe! Now, on to what you're waiting for: cookies!

The trio of doughs ready to be baked!

The first batch I made was found on the wonderful blog, How Sweet Treats. I am seriously impressed with what this woman creates (thanks to my cousin Lily for introducing me to this gem). Naturally, I had to try out one of her recipes. Since we just happen to have a large, seldom used bottle of Bailey's in the house, I decided to try her double fudge Irish cream cookies. I know Saint Patrick's Day is over, but who cares? Bailey's is undeniably delicious and it could only taste better in a cookie!

Getting the party started


Bailey's dough ready to go


Fresh out of the oven, yummmm!

For these cookies I used the recipe from the How Sweet Treats blog, which you can find here. I made a couple of my own modifications though:
1. I didn't add white chocolate chips because I have yet to find any that are free of hydrogenated oils, and half of my goal here is to produce treats without too many horribly unhealthy ingredients. I just substituted for the white chips with semi-sweet milk chocolate chips.
2. We do not have any instant coffee in the house and there is nothing I despise more than having to run to the store (I basically live on top of a mountain where what others know as a quick run to the store takes a minimum of 40 minutes because of driving time) for just one semi-crucial ingredient. So I just omitted the instant coffee. This probably would've given these cookies the extra kick that they needed...
3. We have chocolate-covered coffee beans, which I meant to stick on top of these, but I completely spaced. Just an idea for the future if any of you have chocolate-covered coffee beans and want to try it. I will remember to do this next time!


Overall, I'd say these cookies turned out well given the modifications that I made. At first I thought these cookies were kind of bland, then I loved them, and then I thought they were bland again. I couldn't make up my mind with these! You'll just have to try them for yourself.


The next cookie added to the trio was the obligatory monster cookie. I halved the recipe, which always leaves me a little dissatisfied because it is difficult to halve (the proportions are always a little off). These cookies are also temperature sensitive: if the dough is too warm before they go in the oven they spread like crazy, but if the dough is chilled for too long they don't spread enough and come out looking like muffins. The dough wasn't cold enough prior to baking so these spread a little more than I would have liked. Luckily spreading is mostly just an aesthetic issue; they still tasted amazing.


Stack of flattened monster cookies

Lastly, I decided on oatmeal raisin cookies. I could probably count all of the times that I've made oatmeal raisin cookies on one hand. I have no idea why I hardly ever make these cookies, because they aren't any less delicious than any other cookie out there. I guess that depends on who you ask, but personally, I have nothing against oatmeal raisin cookies. So I decided to make these cookies the last members of the cookie trio. They turned out quite well.

Oatmeal raisin cookies cooling off

Here's the recipe I used for these oatmeal raisin cookies:

  • 1/2 cup plus 4 tablespoons butter
  • 3/4 cup packed brown sugar
  • 1/2 cup granulated sugar
  • 2 eggs
  • 1 teaspoon vanilla
  • 1 1/2 cups flour
  • 1 baking soda
  • 1 1/4 teaspoon ground cinnamon
  • 1/4 teaspoon salt
  • 3 cups oats (I use Quaker old-fashioned, none of that instant stuff)
  • 1 cup raisins (I would recommend adding a little more, I felt like these could have used a few more raisins) 
Bake 8 to 12 minutes at 350, until golden brown.


Cookie trio at the end of the day

24 March 2011

Peanut Butter Cups

I promise that Beluga Bakery will eventually hop on the cookie train, but I couldn't resist sharing these delicious treats. Whenever I have that oh-so-familiar chocolate/peanutty craving, I make these. So simple and so scrumptious. I followed this recipe the first time, but decided to make some slight personal changes to my subsequent efforts, which I think created a much more satisfying result. The best part about these is that they require no time in the oven, just some time in the fridge or freezer.  I was addicted to Reese's throughout my first semester of college and if I'd known how easy it was to make my own peanut butter cups then, I probably would've made these weekly. Back then I could afford to stuff my face since I was rowing crew, now it's probably better that I have to go through the slight effort of making these goodies instead of simply buying a bag of Reese's at the store. I'm still active, I'm just not up at 5 AM every morning burning obscene amounts of calories. Now I try to justify indulgence by making it myself because mentally it seems better; ultimately it's all the same.


 I truly believe that silicone cupcake liners are one of the best inventions ever.


 I am a huge fan of all things crunchy, so crunchy peanut butter is a must!


It's a good idea to let these sit out for a little bit before enjoying so that they aren't as difficult to sink your teeth into.


Beluga's take on the peanut butter cups (makes a dozen):
For the chocolate:
  • 16 ounces of semisweet baker's chocolate (although chocolate chips would do the trick as well)
  • 1 heaping spoonful of peanut butter (do yourself a favor and buy the all natural/organic kind, it's a little more expensive but has no nasty stuff like hydrogenated oils, so it's better for you!)
  • dash of salt
For the peanut butter filling:
  • 3/4 cup of peanut butter (I used crunchy!)
  • 1/3 cup powered sugar
  • dash salt
Directions:
 Melt the chocolate in one minute increments in the microwave, stirring the chocolate after each interval. After all of the chocolate has melted, mix in the spoonful of peanut butter and pinch of salt. Set aside. Combine the remaining ingredients in a separate bowl, stirring until the mixture is nice and creamy (if you store your peanut butter in the fridge it helps to stick it in the microwave for a few seconds to soften for easier mixing). Use about half of the chocolate to fill the bottom of the cupcake liners. Next, add the peanut butter; if you're concerned with aesthetics avoid letting it reach the edges of your liners. Use the remaining chocolate to cover the peanut butter, then place the finished peanut butter cups in the fridge or freezer to harden. (I'm impatient so I put mine in the freezer, where it only takes about 20 minutes for them to harden.) After they've hardened, remove the cups from the cupcake liners and enjoy! Tip: keep them stored in the fridge to avoid any loss of form.